|
Now how do I built a panel?
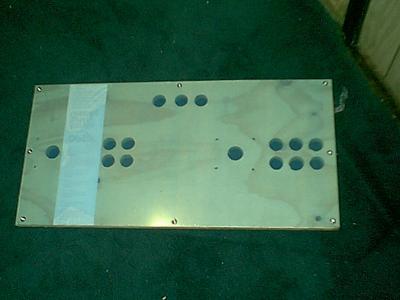
First poke some hole in a piece of wood with a 1/8 spade bit.This piece is 3/4 thick and 25"x13".

Now,get some finishing washer from home depot and some screws(both same size).Pre drill holes first then use the finishing washer to screw the plexi to the panel and time to drill some holes in that cheap $4 plexi glass.
Drilling plexi is not that hard at all.REMEMBER,use sharp spade bit and go BACKWARD slowly.When you go slow,you just melt it right out.You can drill lexan any way you want but you must go backward for plexi.Because plexi is very cheap and it breaks.LEXAN is recomanded for newbies because lexan is easy to work with.You just drill lexan as if you were drilling wood.

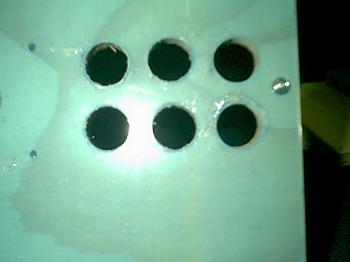
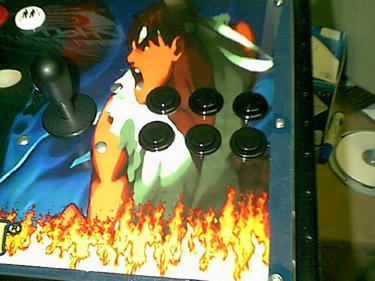
A close up of the drilled holes.So far I am happy because the cuts came out pretty clean without any hassle.

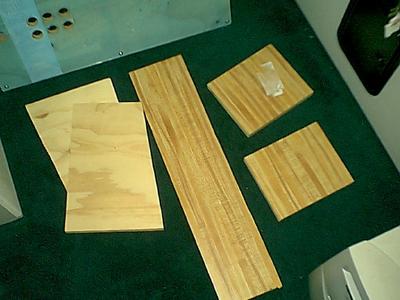
Here are the wood pieces I used to built the panel.They are all laminated with OAK countertop formica.Looks great but I wanted black.My local hardware suck so bad that they only carry like 4 colors to choose from.So I got the oak looky one.The 24"x48" laminate sheet cost me $12.I used contact cement to apply the laminate.
Also,I routed the bottom where you mount the joystick.Because do the math,3/4 wood+1/8 plexi glass=no good for happ joysticks.This is when PLY wood comes in handy.I took out 2 layers of wood using my chiset and hammer.You can use router but i dont have one so I did it the old school way to get the perfect height because I am very picky when it comes to joystick(gotta be 100% arcade feeling/working).
This is the worst thing happend to me ever.FU_KIN kinko's printed my art work wrong size.Sorry for the language but I wasn't happy when I came home and found out that it was short by 2" both ways.Anyways,I decided to use that instead of goin back there and punch one of them.I am too lazy,it takes like over an hour to get there.It cost me only $25 to have them print out this custom made artwork.SO,I wasn't all angry because the art itself came out much better then I expected.
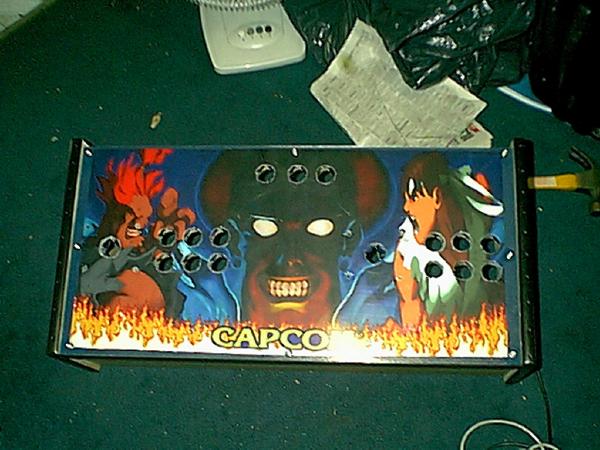
I used some spary glue to install the artwork in my panel.
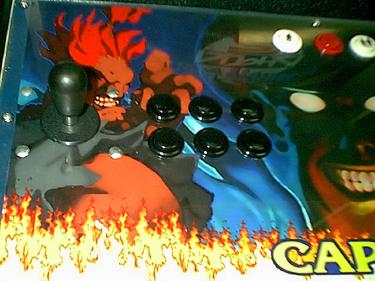
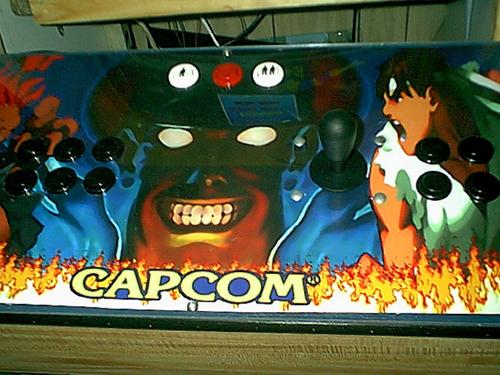
Now I am ready to install the buttons and the joystick.Also,if you look very close you can see that the art does not cover the whole joystick.I used royal blue spray paint to cover up the borders.

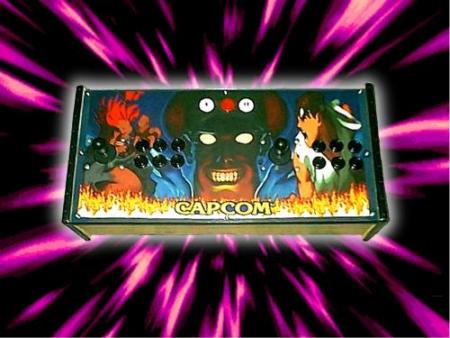
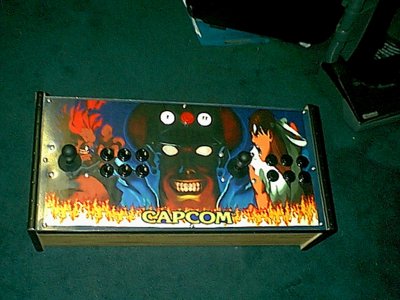
AHH...just installed buttons and stick.So far,looks pretty cool.
Now,my goal is to make a panel that would work for MAME and DREAMCAST.But HOW???
Very easy,first hack 2 cheap psx game pad and then get converters for mame(USB) and dreamcast.
Click to find out more about hacking psx pads. 
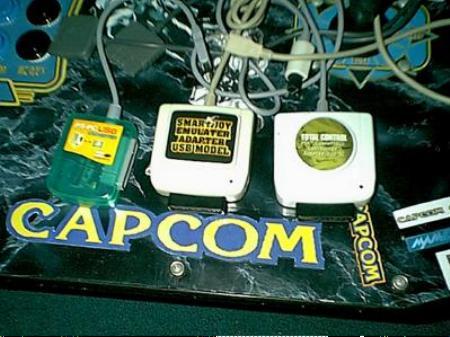
This is how "psx to your momma" converters looks like.Playstation controllers are so nice that they release converters for every system ever.The very right one is for dreamcast and the 2 others are USB.Goes to your usb port and seem to work perfect with MAME.
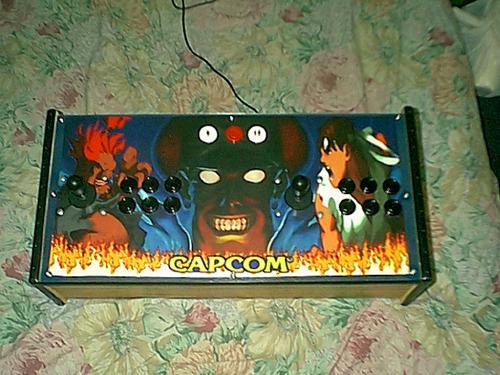
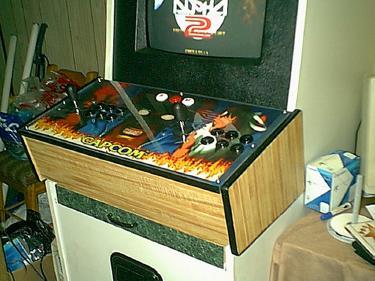
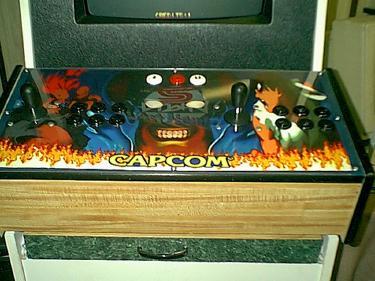
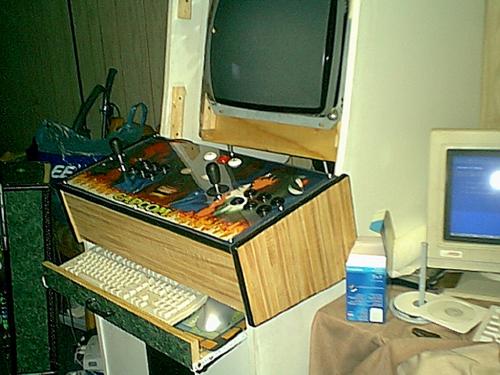
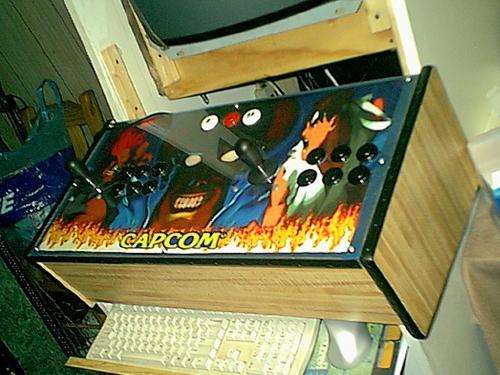
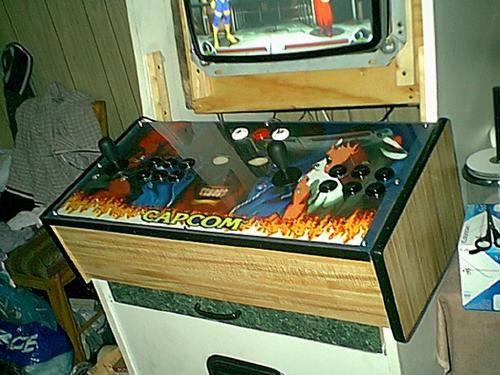
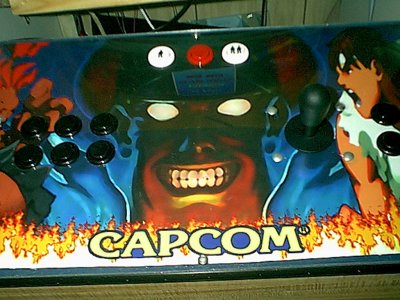
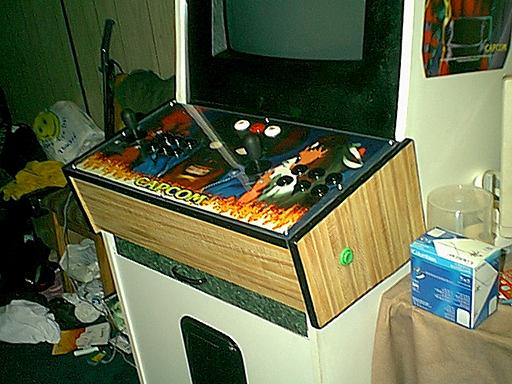
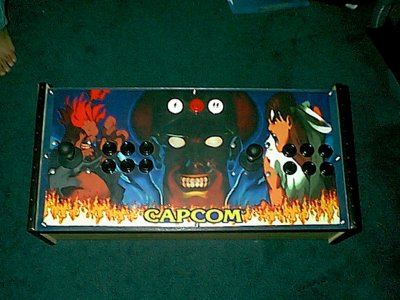
Here are some pictures of the finished control plan.Yesss I am pretty happy with the result.Click on the thumbnails to view larger images. >>ENJOY!<<
|